
Introduction
Whether you’re selling your old PC, planning to reset it, or dealing with malware, knowing how to wipe your PC is important. This guide will walk you step-by-step through the process of wiping your Windows 11 PC.
Before You Begin
- Back Up Your Data:
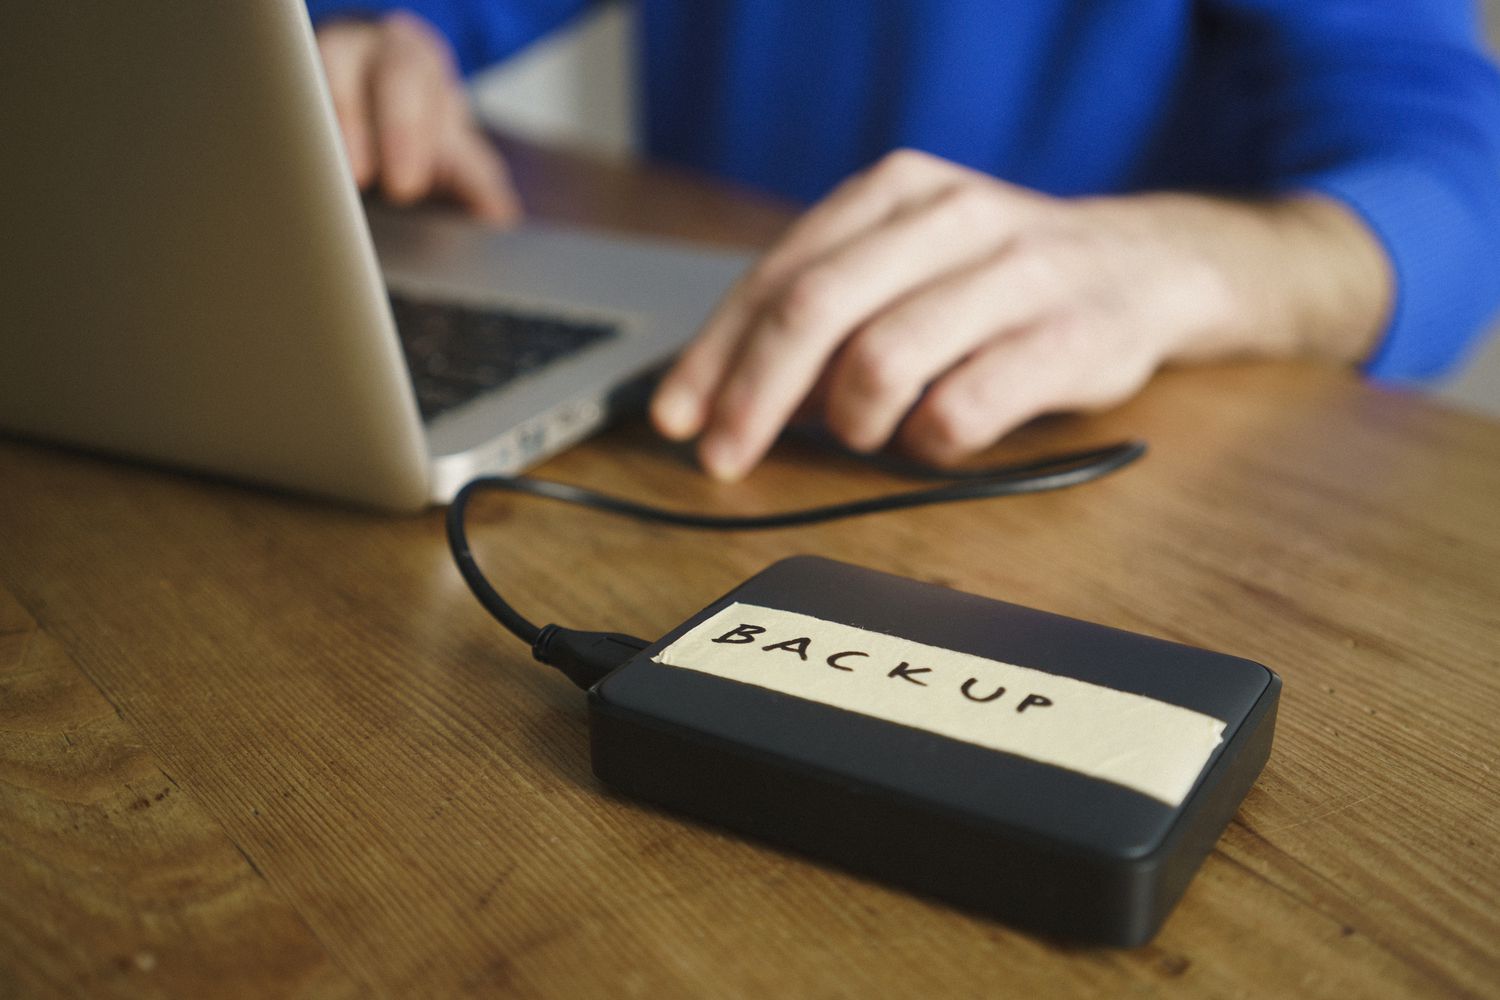
- Always create a backup of your important files before wiping your PC. This can be done using external hard drives, cloud storage, or other reliable methods.
- Gather Necessary Tools: You’ll need a bootable USB drive with a fresh Windows 11 installation.
Step-by-Step Guide
- Create a Bootable Windows 11 USB Drive:
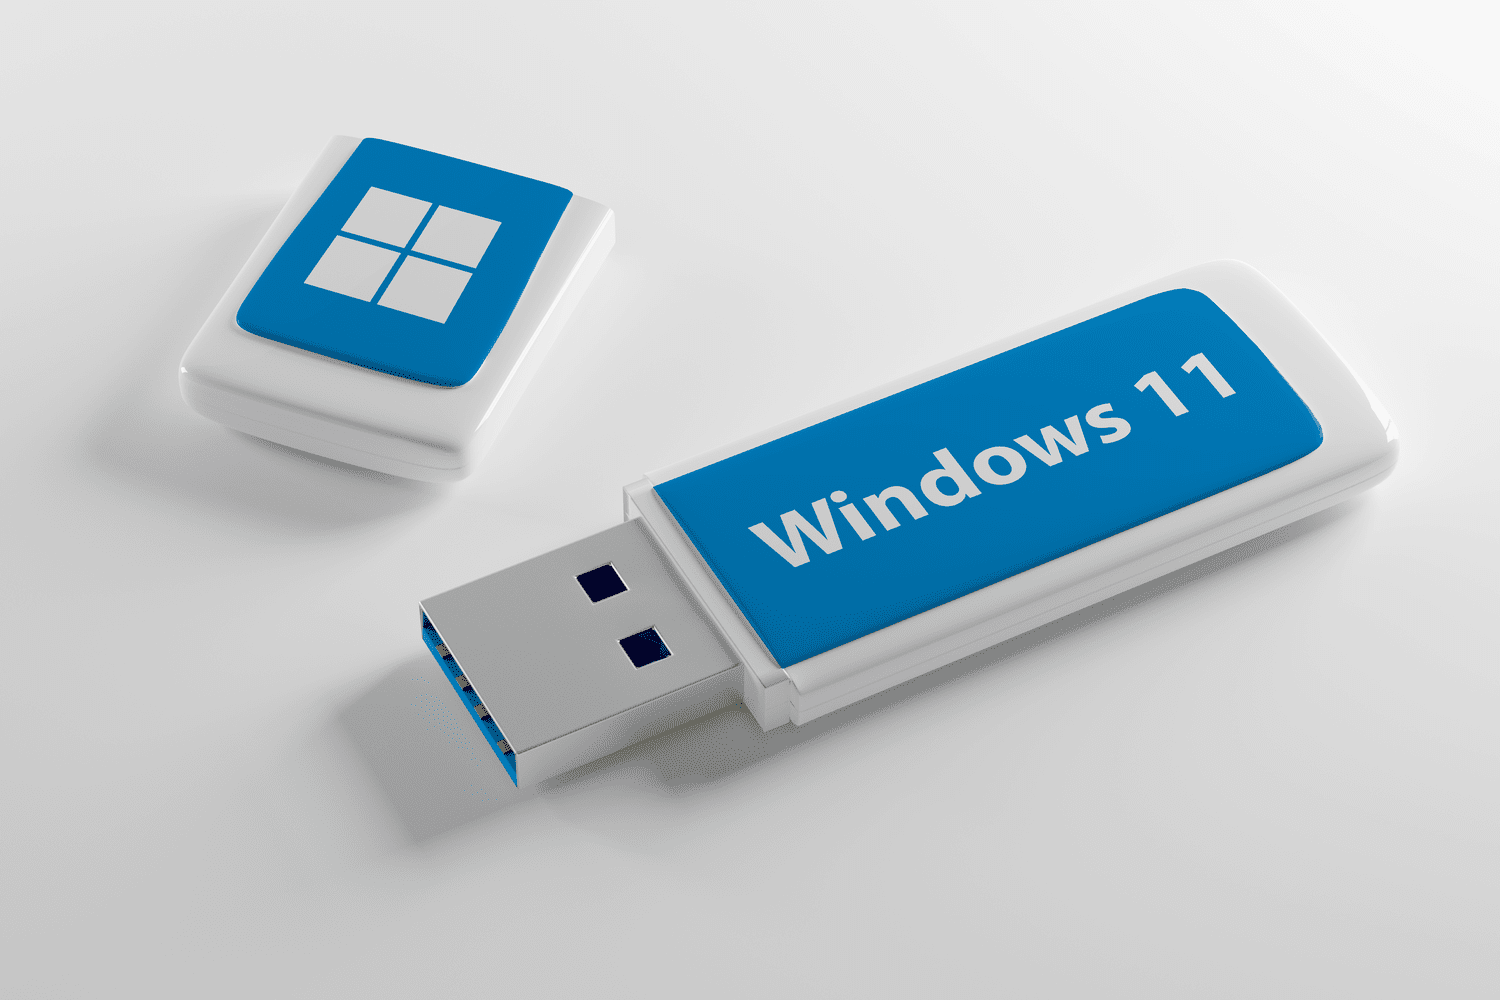
- Download the Windows 11 ISO file from Microsoft’s official website.
- Use a tool like Rufus or Media Creation Tool to create a bootable USB drive
- Boot from the USB Drive:
- Restart your computer and press the appropriate key (usually F2, F8, or Del) to enter the BIOS/UEFI setup.
- Change the boot order to prioritize the USB drive.
- Install Windows 11:
- Follow the on-screen instructions to install Windows 11 on your PC.
- Format the Hard Drive:
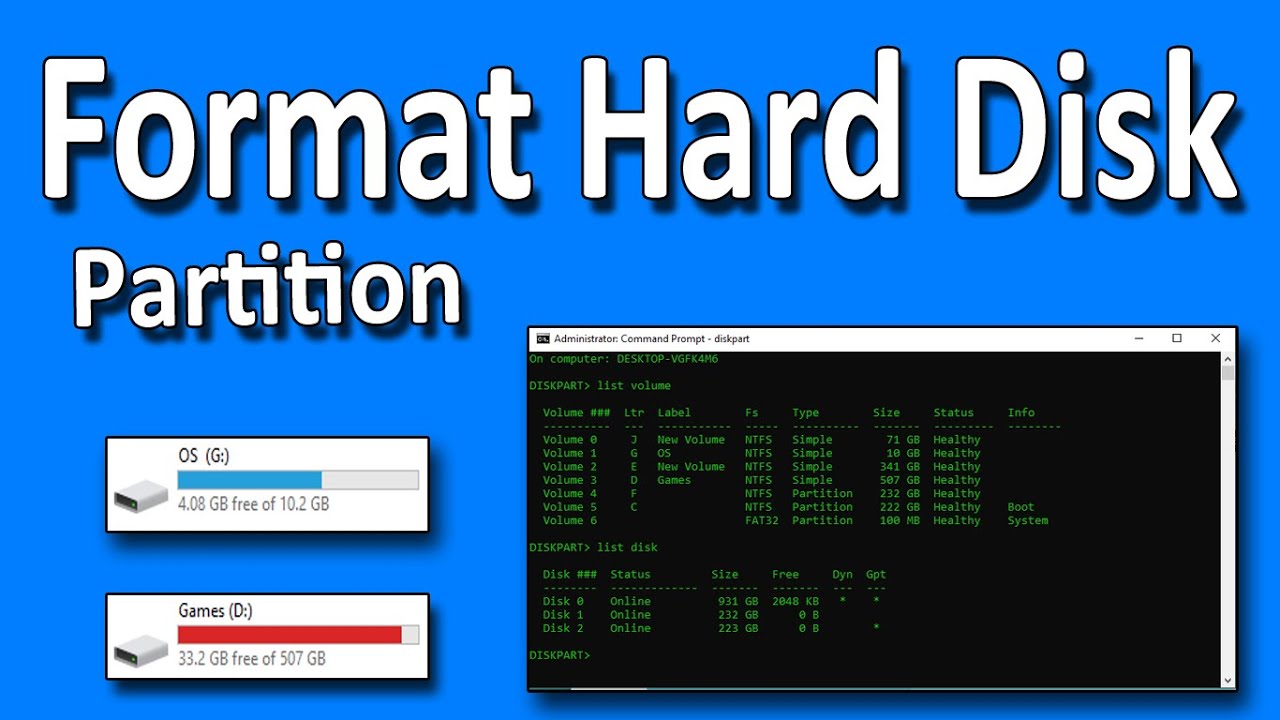
- During the installation process, you’ll be prompted to choose a partition for Windows.
- Click “Delete” to remove all existing partitions on the drive.
- Then, create a new partition and select it for the installation.
- Complete the Installation:
- Continue with the installation process until Windows 11 is successfully installed.
Additional Tips
- Secure Erasing Tool (Optional): For added security, consider using a tool like DBAN (Darik’s Boot and Nuke) or Eraser after installing Windows 11. These tools can overwrite data multiple times to make recovery extremely difficult.
- Verify the Wipe: After completing the wiping process, you can use data recovery software to scan the drive and ensure that no data can be recovered.


